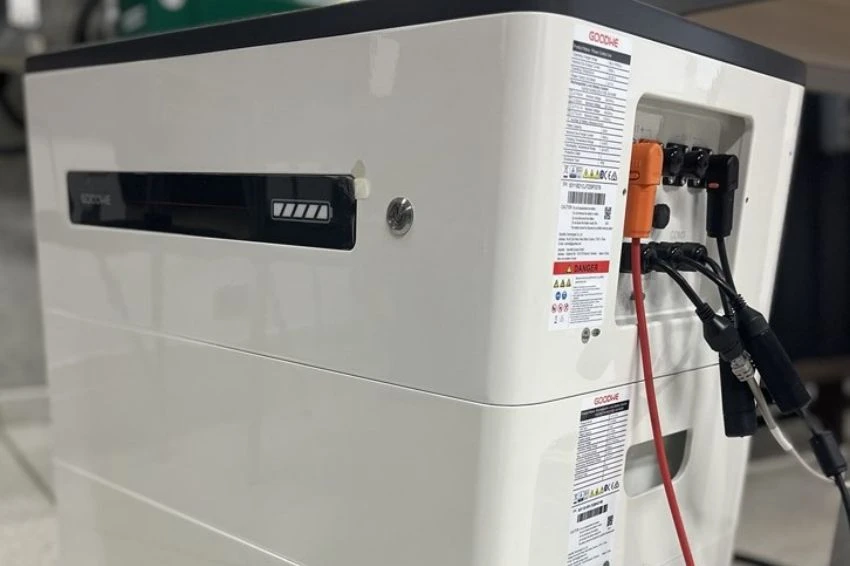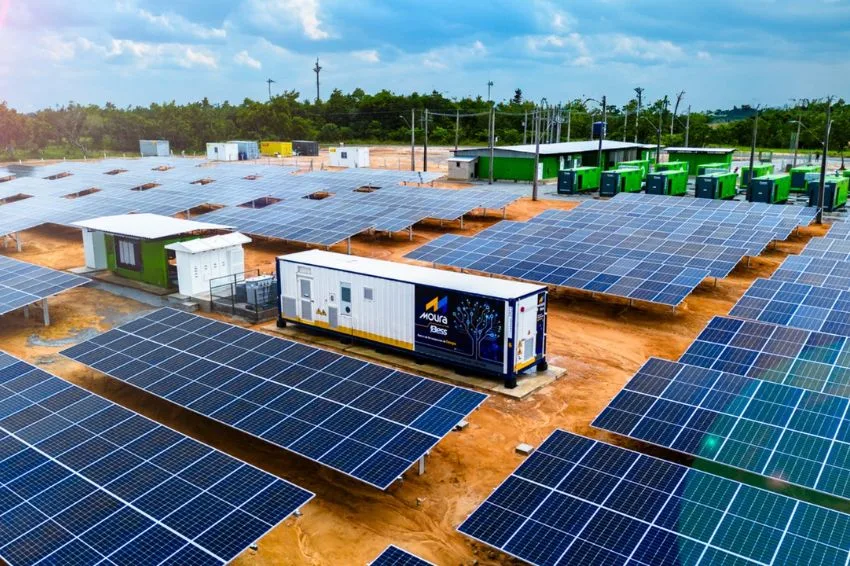
Power optimizers are MLPE type devices (module level power electronics) which allow you to individually track the maximum power point (MPPT) of photovoltaic modules.
There are two major advantages to using optimizers in photovoltaic systems: reduction of losses due to mismatch (incompatibility) of module power and system immunity to shadows.
O mismatch of power occurs due to the fact that the modules of the string not be identical. Even using modules from the same manufacturer, model and power, there are always slight differences between them.

These differences can cause losses of a few percentage points in photovoltaic installations. The individualization of modules provided by optimizers allows to mitigate the effect of mismatch, providing greater energy generation.
The problem of partial shadows in strings photovoltaics is a big nightmare in photovoltaic systems.
Conventional inverters (not equipped with intelligent MPPT algorithms) are not able to guarantee tracking of the system's global maximum power point when a part of the modules is shaded.
The individualization of modules made possible by optimizers also solves this problem.
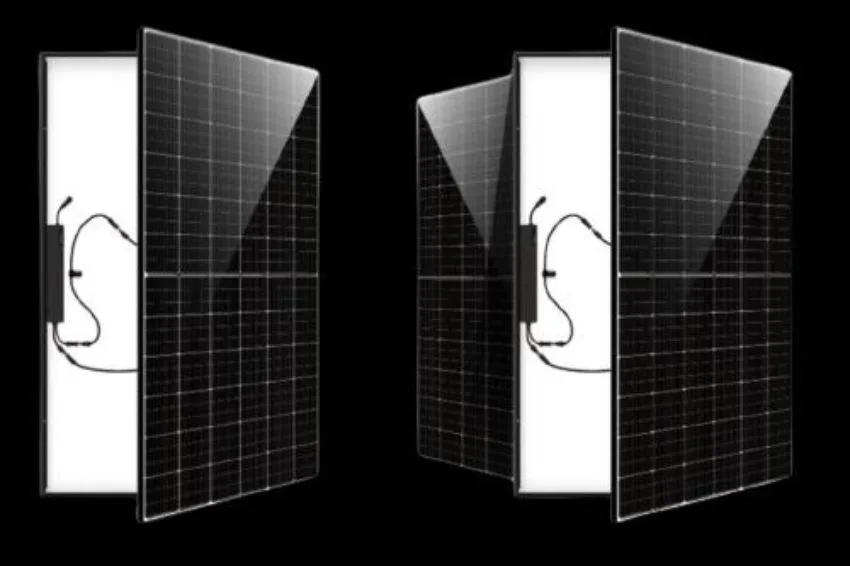
Furthermore, the use of optimizers also has the advantage of allowing connections like the one seen in the following figure, in which the different system modules are installed with different inclinations and orientations.
This type of series connection of modules would be impossible with inverters. strings conventional.

Configuration on PVSyst
To configure systems with optimizers in PVSyst, you must select the option “Use optimizer” in the “PV module selection” section. Next, you must choose an optimizer model that has a nominal power compatible with the photovoltaic module used.
In this example we chose an optimizer SolarEdge 400 W. After selecting the optimizer, PVSyst automatically provides a list containing SolarEdge brand inverters.
This manufacturer's technology requires the use of optimizers and inverters from the same brand, so the only option in this case is to use an inverter also from SolarEdge. We chose an inverter with a nominal power of 8 kW.
After choosing the inverter, you must configure the strings. In this example we will use 2 strings with 15 modules in each.

Finally, you must complete the configuration of the strings on the inverter using the “Configuration of strings”.
In the configuration window the easiest option is to use the automatic adjustment tool “Adjust sub-arrays”.
The objective of this step is to configure the inverter inputs, distributing the strings of a given sub-group between the inverter inputs.
In this project example we have only 1 sub-group with 2 strings, which results in the configuration shown in the figure below.